
Blog
Compact Substation Installation in India: A Site Engineer’s Checklist, From Foundation to Energisation

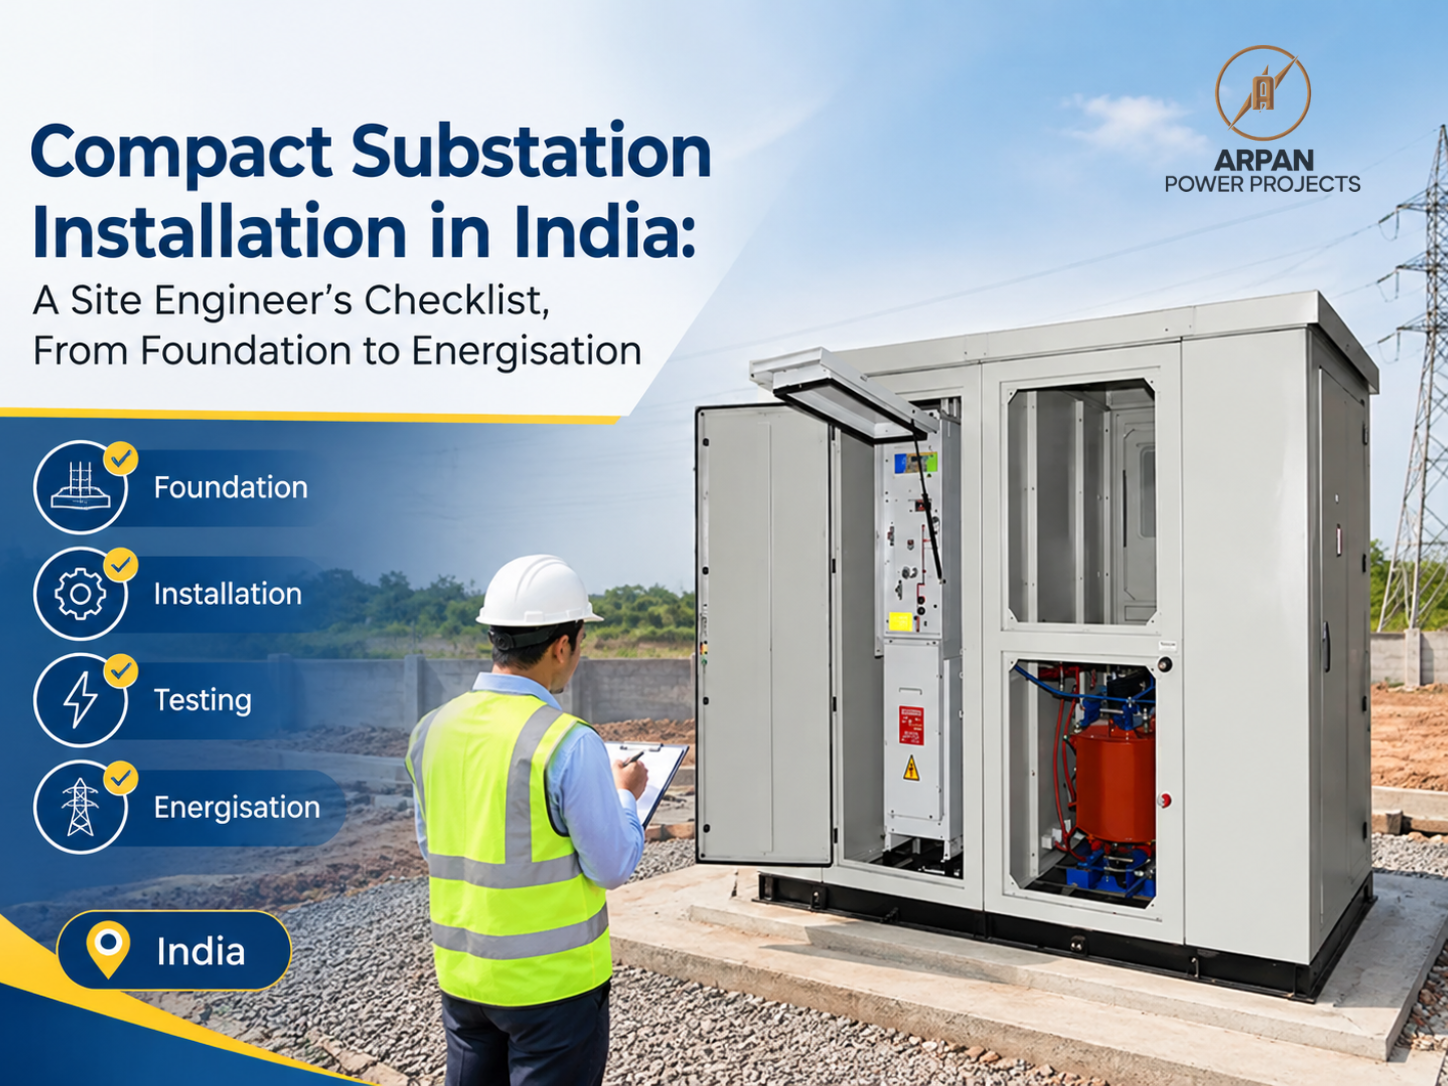
A compact sub station reaches your site looking finished. Transformer inside, switchgear inside, LV panel inside, doors that close. It’s easy to think the hard part is over.
It isn’t. In our experience, most delays and callbacks on a compact substation project trace back to the first few days on site: a foundation poured to the wrong level, an earth pit nobody tested, a cable trench that doesn’t line up with the gland plate. None of these are equipment faults. They are installation faults, and they are all avoidable.
This guide walks through the installation and commissioning sequence the way a site engineer would actually do it. If you are still deciding who to buy from, read our buyer’s guide on choosing a CSS compact substation supplier first, then come back here.
What actually arrives on site
A CSS (compact sub station), also called a packaged, unitized or prefabricated substation, has three parts in one enclosure:
- HV section: a ring main unit (RMU) or a VCB with protection
- Transformer: oil type or dry type
- LV section: incomer, outgoing feeders, metering and often power factor correction
Prefabricated HV/LV substations are covered by IEC 62271-202. Before the unit leaves the factory it should have routine test reports. Keep them. You will need them again at the commissioning stage and when your DISCOM or consultant asks for documents.
Step 1: Get the foundation and site right
Concrete work looks simple, which is exactly why it gets rushed.
- Plinth height: raise it above the highest water level your site has seen. In Delhi NCR, Gurugram and Noida, monsoon waterlogging near industrial plots is routine, not rare.
- Cable trench or pit: the openings must match the gland plate positions in the manufacturer’s drawing. Get the approved GA drawing and measure twice before shuttering.
- Oil containment: for an oil type transformer, plan a soak pit or sump as per your site and safety norms.
- Crane and truck access: check the turning radius and ground bearing capacity. A heavy unit sinking into soft soil on delivery day is a bad start.
- Clearances: leave working space around doors and ventilation openings. Don’t box the unit in with a boundary wall.
Step 2: Earthing comes before anything else
This is the step buyers underestimate the most.
A substation needs a proper earth grid or earth pit arrangement, designed to IS 3043 and your consultant’s specification. Utilities usually ask for a very low earth resistance value, so follow the number in your tender or DISCOM requirement rather than a rule of thumb.
Three practical points:
- Measure the earth resistance before you connect the substation, not after.
- In sandy or rocky soil (common in Rajasthan and parts of Gujarat), plain GI plate pits may not reach the target. Chemical earthing or additional electrodes are often needed.
- Record every reading with date and weather. If soil is dry during the test, values can look worse than they are in monsoon, and the reverse.
Step 3: Offloading and placement
Use the lifting points the manufacturer provides, and only those. Never lift from the roof or sling around the enclosure. Place the unit on the plinth, check it is level, and bolt it down. A tilted unit can make doors, interlocks and the transformer oil level misbehave later.
Step 4: Check the HV side before you terminate cables
The HV section decides how your cable work, protection settings and maintenance routine will look. Here is how the common options compare on site.
| HV option | Where it’s typically used | What to watch during installation |
|---|---|---|
| 11KV RMU | Ring networks, townships, commercial buildings | Cable termination type, SF6 pressure indicator, switch position indication |
| 33KV RMU | Higher-voltage distribution, larger industrial feeders | Cable bending radius, more clearance, tighter termination work |
| Outdoor RMU | Open sites, roadside and utility-style layouts | Enclosure rating, base height, rodent and moisture protection |
| 11KV indoor VCB | Rooms with built switchgear space | Panel alignment, busbar joints, relay settings |
| 11KV outdoor VCB / 11KV outdoor VCB panel | Solar plants, factory boundaries, open yards | Weatherproofing, canopy, door gaskets |
| 11KV outdoor VCB kiosk type | Sites without a building | Foundation fit, heater and lighting supply |
| 33KV indoor VCB / 33KV outdoor VCB | Large industrial and utility incomers | Insulation distances, protection coordination, CT/PT ratios |
If you need to know more about a particular option, we have separate guides on the 11KV outdoor VCB kiosk type and the 33KV indoor VCB panel.
One thing we always tell site teams: do not terminate HV cables until the cable test report is in your hand. A cable that fails after termination costs you a day or two, sometimes more.
Step 5: Transformer and LV side
Inside the unit, the transformer and LV panel need their own checks before energisation.
- Oil type: check oil level, breather, valves, and look for any leakage from transport.
- Dry type: check winding and enclosure for dust, damage and loose hardware.
- Tap changer: confirm it is set at the position your design calls for. Don’t assume it is on the nominal tap.
- LV terminations: re-check busbar and cable lug torque. Vibration during transport can loosen bolts.
- LV breaker settings: set the ACB or MCCB protection to match the actual load, not the factory default.
For a deeper look at how the two transformer types differ, see our explainer on how a transformer works in a power network.
Step 6: Pre-commissioning tests
Before you even think about switching on, run through this list with your commissioning engineer:
- Earth resistance measurement and continuity
- Insulation resistance of HV cables, transformer windings and busbars
- Transformer ratio, vector group and polarity check
- Relay testing by secondary injection, including trip and alarm tests
- CT and PT polarity and ratio verification
- Interlock and mechanical operation test on the RMU or VCB
- Phase sequence check on the incoming supply
- Final paperwork: DISCOM approvals, test certificates, as-built drawings
Skip nothing, even when the project schedule is screaming. A forty-minute test is cheaper than a burnt cable box.
Step 7: Energisation and the first 30 days
Energise the HV side first with the transformer on no load, and watch for abnormal sound, smell or temperature. Then bring load on in stages instead of all at once.
After the first week, and again after the first month, get a thermography scan of terminations and busbars. Loose joints show up as hot spots long before they fail. It’s a cheap check that most sites never do.
Mistakes we see again and again
- Ordering the unit before the foundation drawing is approved
- Treating earthing as a last-minute task
- Leaving relay settings at default values
- No proper provision for ventilation, so the transformer runs hot
- Missing the DISCOM inspection window and losing weeks
- Not matching the IP rating of the enclosure to the site (dusty, coastal or flood-prone)
Sourcing the HV equipment for your substation
Most compact substation projects need more than the unit itself. You may need a spare breaker, a separate outdoor kiosk, or an RMU for a second ring feeder. As an experienced VCB supplier in India and RMU supplier in India, Arpan Power Projects supplies these as a single package, which keeps drawings, ratings and documents consistent.
Depending on your design, you may be comparing an 11KV RMU supplier in India with a 33KV RMU supplier in India, or an Outdoor RMU supplier in India against a kiosk-type breaker. For breakers, our pages on the 11KV Outdoor VCB supplier in India, Indoor VCB supplier in India and 33KV Indoor VCB supplier in India explain the options. You can browse the full range under CSS compact substations, RMUs and indoor VCBs.
Frequently asked questions
How long does compact substation installation take?
Once the foundation is cured and cables are ready, positioning and termination can often be done in a few days. Testing and DISCOM inspection usually decide the real timeline, so plan them early.
Can a compact substation be installed on a rooftop or basement?
It can, if the structure is designed for the weight and you have a safe way to bring the unit in. Dry type transformers are generally preferred inside buildings for fire safety.
Do I need a separate earthing system for the transformer and the RMU?
They are normally connected to a common earth grid, with separate earth electrodes for the neutral and the body as per design. Follow your consultant’s drawing and IS 3043.
What should be inside the commissioning documents?
Routine test reports, GA and wiring drawings, relay settings, earth test records, cable test reports and the DISCOM approval letter.
Which areas do you supply to?
We supply across India, including Delhi NCR, Gurugram, Noida, Maharashtra and Gujarat. Confirm your site location with our team for delivery timelines.
Planning a compact substation project?
A compact substation saves you months, but only when the site is ready for it. If you want help matching the right RMU or VCB and transformer to your load, share your kVA, voltage and site details with Arpan Power Projects at +91 98688 64101 or through the contact page. Our team in Delhi will respond with a practical recommendation, not a catalogue.